REMOVE PASSWORD UPDATE FIRMWARE OF ANY KIND OF SONY XPERIAL
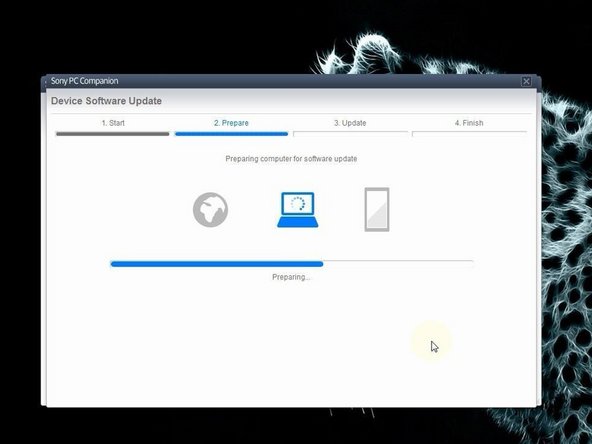
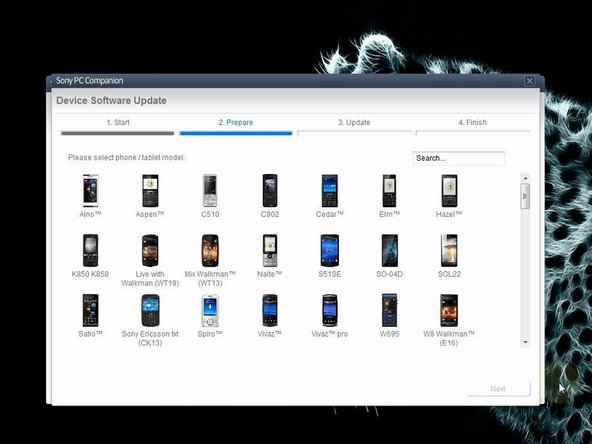
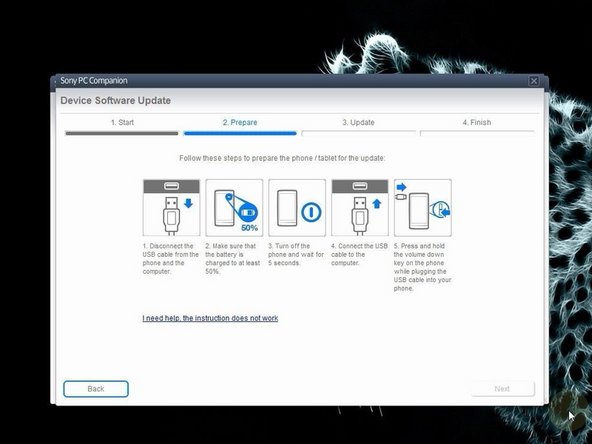
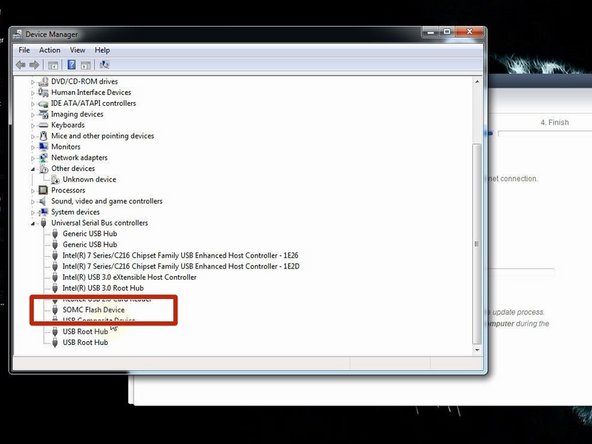
Step 1 — Sony Xperia - Password Removal, Firmware Update with PC Companion Install Sony PC Companion in your PC. From here you can update your firmware, but when you connect the phone, it must be switched on and not in security or password screen. We will start "Support Zone" because from here we can flash the phone from switched off state regardless of whether there is a password. Now start "Phone / Tablet Software Update". Connect your laptop to power supply since the update of your phone will take some time. Now choose "repair my phone / tablet". By this way you can fully erase your phone and remove any security password, PIN etc., or change firmware if your phone have OS problem and can't be powered on correctly. This is your last warning about losing your personal data. PC Companion will download some files to prepare your PC for software update Your phone / tablet must be at last 80% for the update to proceed safely! Select the model of your phone. You should not confuse the model. The USB cable must be connected only to the PC. Turn off the phone. Press and hold the Volume Down button while plugging the cable into your phone. Once connected, PC Companion will download necessary firmware and will upload it to your phone. Your PC must recognize your phone like SOMC Flash Device. If you have a problem with drivers (your PC can't recognize your phone), search in the internet for "S1Boot Fastboot" drivers or use the link below. Android WinUSB drivers When PC Companion finished with update process, disconnect the phone and switch it on. Now your phone is in factory condition, with erased custom data and without password protection. . Did you do it successfully?
DOWNLOAD